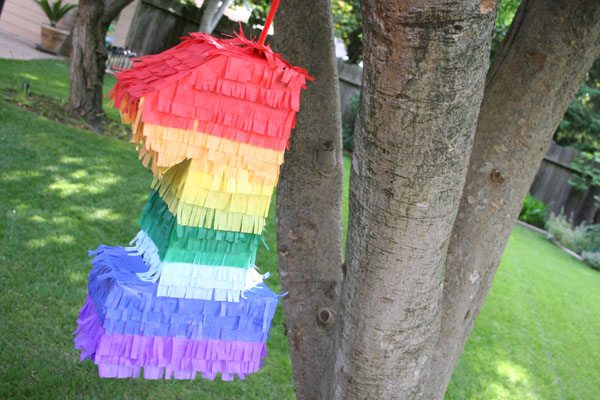
Today, we’re talking DIY pinatas!
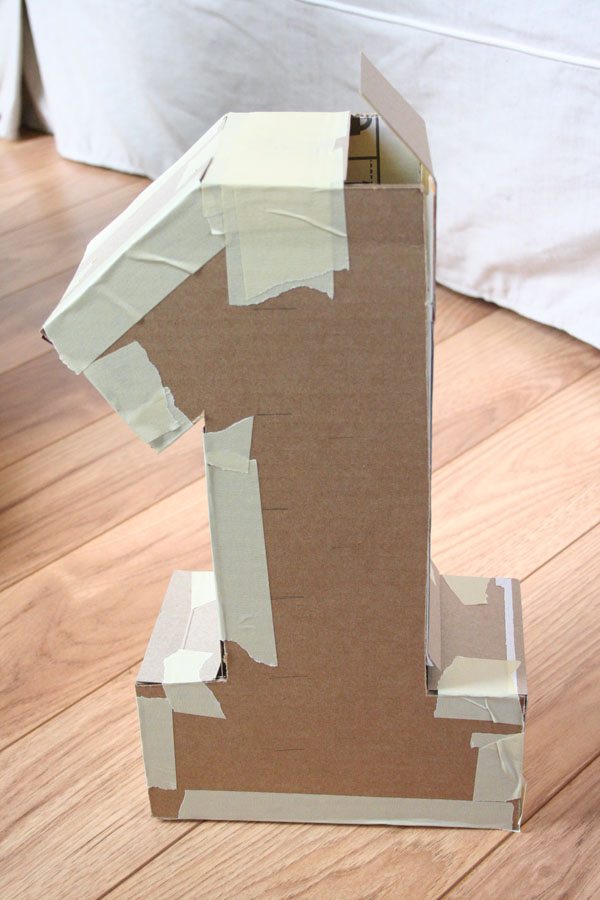
Here’s what you’ll need: some cardboard, an empty cereal box, tissue paper, masking tape, scissors, a glue stick, and pipe cleaners or thick twine. Start by cutting the shape of your pinata out of your cardboard. Cut out two identical pieces of your shape. I chose a number one, of course! Dimensions can be up to you; this number one is about 18 inches tall.

Next, cut out strips of your cereal box to use on the sides of your pinata. For this 18-inch tall pinata, I used strips that were three inches wide. Assemble your cardboard shapes and strips from the cereal box using plenty of masking tape, matching the edges neatly. Leave a flap open and untaped at the top of your pinata.

Next, prepare your tissue paper: leave paper folded as it comes in a fresh package, and cut of a two-inch-wide strip of folded tissue paper. Snip fringe about halfway up one side of the folded tissue paper. Unfold, and you should have a long strand of fringed tissue. Use as many colors as you’d like!


Once all of your tissue is fringed, grab your glue stick and start applying the fringe to the pinata form, starting at the bottom and working your way up. Overlap the tissue so that the only portion that shows is the fringe, and the un-fringed part is what gets glued down.


When you’ve covered the pinata, cut small holes on the open flap at the top, and corresponding holes on the top in a section that is taped down. String a pipe cleaner or twine through the holes to seal the top of the pinata. (If you’re filling the pinata with candy or treats, you can use the open flap to get your goodies inside!)

After you’ve sealed the pinata, string it up and admire! You can use them purely for decoration, or put it to use – grab a bat and knock it around! This little project is an absolute blast to make, and even more fun once it’s done. Have a ball!


No comments:
Post a Comment